Laulima Faculty Tutorials
Using the Blogs Tool> Return to Laulima Faculty Tutorials
Blogs (formally known as "Blog Wow!")
Instructors can choose to add either the Blogger tool or the Blogs tool to a site for users to use as a vehicle for expressing ones comments and promoting conversation/interaction amongst peers based on a course topics. Depending on the permissions set by the instructor, students can create their own blogs or just edit/add comments to a blog.
A Blog, much like a Wiki is a system of posting, editing and managing a collection of hypertext pages usually dealing with a topic or purpose.
This tutorial covers:
- creating a new blog
- adding images
- adding links
- adding comments to another users blog
- editing your blog profile
To Begin:
Login to Laulima and go into your course that you would like to have the Blogs tool added. Add the Blogs tool.
If you are not sure of how to add tools in Laulima, please refer to the Laulima tools & Examples of Usage tutorial.
 |
|---|
1. After adding the Blogs tool, instructors must first set the permissions on what the students, TAs, as well as themselves as the instructor can do in the tool.
 |
|---|
2. By default none of the permissions are set.
 |
|---|
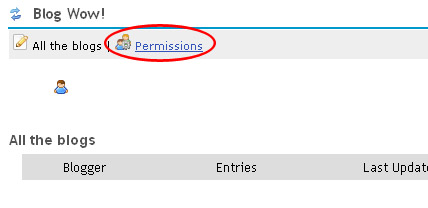
1. To begin adding new blogs, go to the Blogs tool. You will only see the names of users who have already made a blog entry. If a user has not made an entry, their name will not appear.
 |
|---|
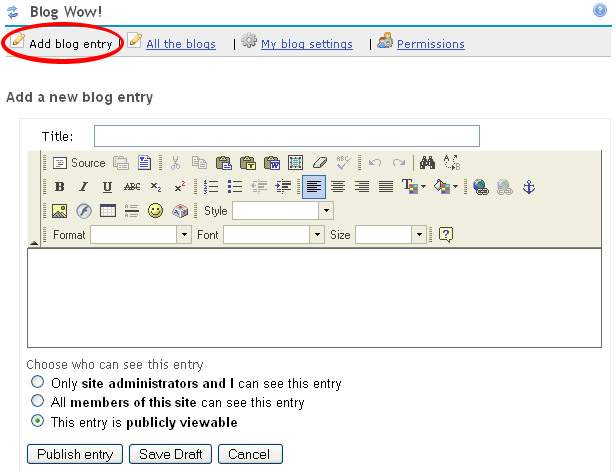
2. Click on "Add blog entry" to begin your new blog.
 |
|---|
3. Add a title and put the content of your blog in the text editor. Content can be added by either typing it out or by copying and pasting from a text document that has been pre-written.
*Note: If you are pasting from Word, it is suggested that you use the "Paste from Word" icon. ![]()
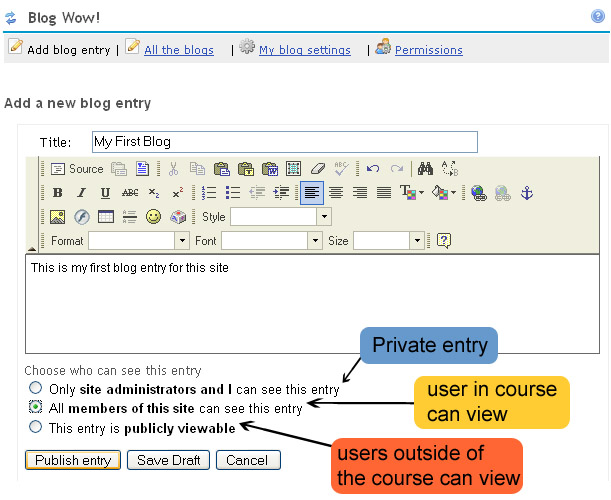
Choose one of the 3 options for who will be able to view your blog.
 |
|---|
4. Once you have entered all the content, click the "Publish entry" button and your blog will be posted.
 |
|---|
Adding an image
Images can also be added to blogs.
1. If you have an image that you would like to add to your blog, you must first upload it to your Resources folder, or know the URL link if it is posted outside of the Laulima system. In most cases, this file will be uploaded to your Resources folder in your "My Workspace" area. In order for other users to view files in your "My Workspace", the file will need to be set as "publicly viewable". To see the tutorial on uploading an image and making it publicly viewable, click on the link below.
http://www.hawaii.edu/talent/laulimatutorials/laulima_resource_publically_viewable.html
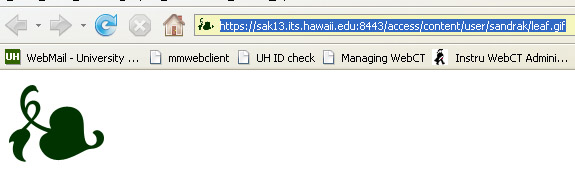
After uploading your file to your Resources folder and making it publicly viewable, get the URL for your image by clicking on your file and copying the URL from the address bar.
 |
|---|
 |
|---|
2. Once you have copied the URL for your image, go to the Blogs tool and begin adding your blog or editing an already exisiting blog. Click on the "Insert/Edit Image" icon.
 |
|---|
3. Paste the URL for your image into the URL box and click the "OK" button.
 |
|---|
4. Your image should now be in your blog. When you are finished with your blog, click on the "Publish entry" button to post.
 |
|---|
Adding a link
Links to external sites can also be added to blogs. You can share an interesting site that you have found with other users in the course by adding a link in your blog.
1. Open the web page that you would like to add to your blog in another window. Copy the URL for this web page from the address bar.
 |
|---|
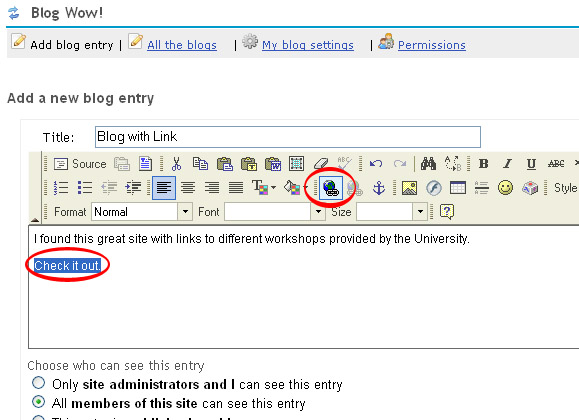
2. Go to the Blogs tool in your site and begin adding your blog or editing an already existing blog. Highlight the text that you would like to add the link to and click on the "Insert/Edit Link" icon.
 |
|---|
3. Paste the URL that you copied into the URL box and click the "OK" button.
 |
|---|
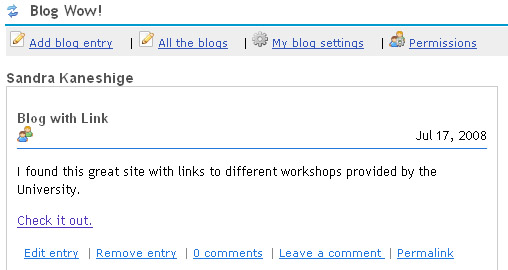
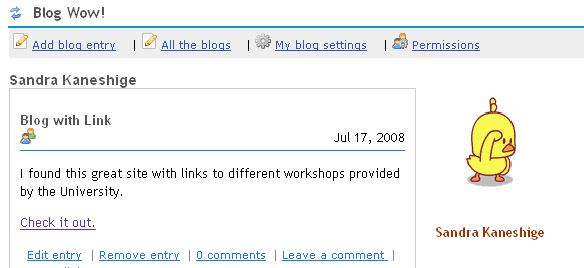
4. Your text that you highlighted should now appear as a link. Once you have finished editing your blog, click "Publish entry" to post.
 |
|---|
Adding a Comment
You can add a comment to blogs that others have created. This feature is only available if made allowable in the permissions settings.
Instructors can opt to be the only one who can leave comments if blogs will be used as part of an assignment.
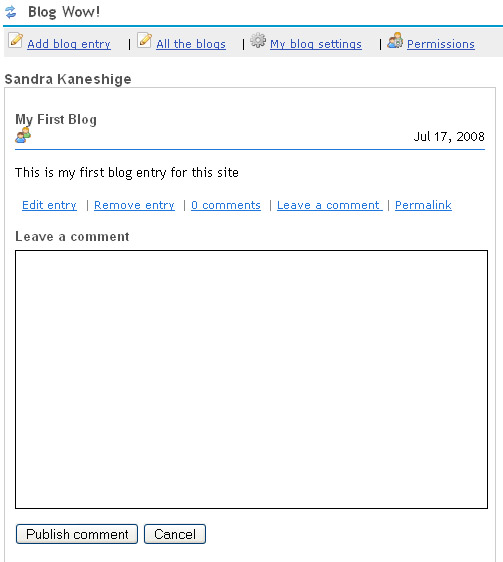
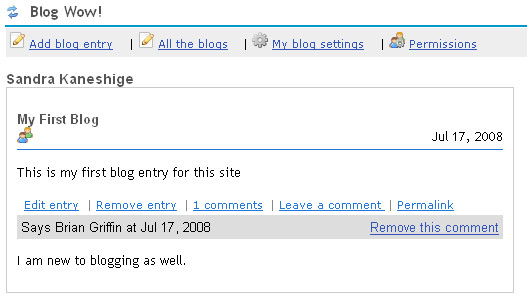
1. On the blog that you would like to leave click on the "Leave a comment" link and the Leave Comment box will appear beneath that blog entry.
 |
|---|
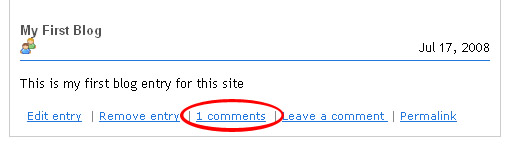
2. Type your comment in the box and click "Publish comment." Once the comment has been published, it will show the number of comments at the bottom of the blog.
 |
|---|
3. Click on the "# comments" link to view all comments for that blog.
 |
|---|
Editing your Blogs Profile
Your profile will be shown next to all your blog entries. You can add your name and an image to your profile. Students can also do this if they are enabled to create new blogs.
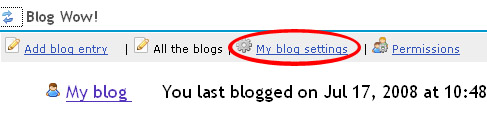
1. In the Blogs tool, click on "My blog settings".
 |
|---|
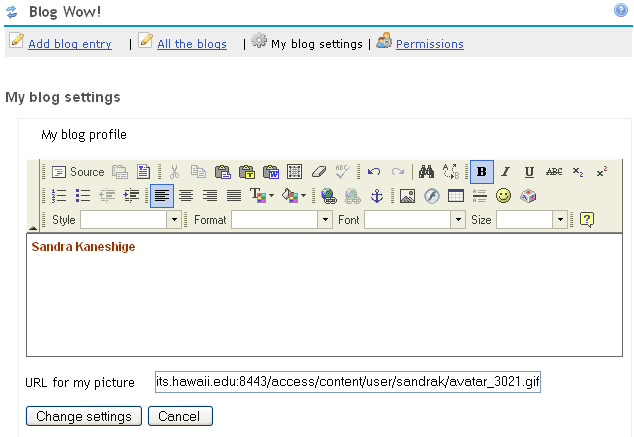
2. In the text editor you can put your name, nickname, and/or a short description of yourself. And following the same directions from the adding an image section of this tutorial, you can add the URL for an image into the "URL for my picture" box.
 |
|---|
3. When you have made all the changes, click on the "Change settings" button. Your profile should then appear when you click on your name to view your blogs.
 |
|---|
> Return to Laulima Faculty Tutorials