

Installing PuTTY
Overview
PuTTY is a free implementation of SSH (Secure Shell) and Telnet for Windows platforms.
PuTTY does not have SFTP capabilities, if you need SFTP please see Askus article 1740 for an ITS supported SFTP application.
In newer versions of Windows 10 and above, you can now enable SSH capabilities in the Command Prompt application. For information on how to enable SSH in Command Prompt, please see Askus article 1874.
System Requirements
The PuTTY Client does not have any special hardware or software requirements. The PuTTY client is compatible with any computer running Microsoft Windows 10 or later.
Installing the Putty Package
-
PuTTY can be downloaded from here When downloading the installation file, you can save it on the Desktop for ease of access.
-
It’s recommended to exit from all other programs before installing the PuTTY package.
-
When the download is completed, go to the Desktop and open the installation file called putty-0.73-installer.msi (.msi is a Windows Installer Package).
-
Windows will ask if you want to run the installer, click Run.

-
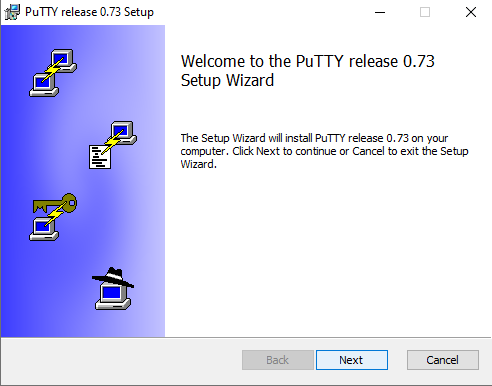
The Putty SetupWizard will start. Click Next.
-
The Setup Wizard will now prompt you to select the installation folder. Click Next to accept the default location or "change" to define a different folder.

-
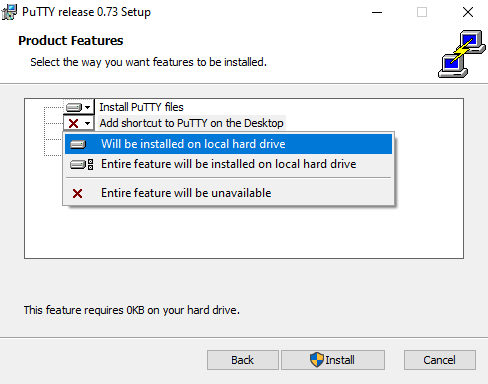
The Setup Wizard will then prompt you to select which features to install. By default it will install everything except a shortcut.

-
It is suggested for ease of access to add the shortcut option by selecting the “Will be installed on local hard drive” option. Once this is done click "Install" to accept the chosen components
-
Windows will then ask if you want to let the PuTTY Installer make changes to your computer to complete the installation, press “yes” and the installer will allow PuTTY to install
-
The Setup Wizard will now install PuTTY onto your computer.
-
Click Finish to complete the installation (In order to skip viewing the README file, you will want to uncheck the check box).

Starting the Program
-
After the installation, you will find a new icon on your desktop for starting PuTTY. To set up an SSH client to connect to uhunix.hawaii.edu double click the icon

-
To connect to a remote computer, set up a session name and then enter the Host Name or IP address along with the designated port.
-
To connect to the uhunix server use the following settings:
-
Host Name: uhunix.hawaii.edu
-
Port Number: 22

(Please note that sessions can be saved as shown above)
-
-
If this is the first time you connect to a new Host, you will receive a Host Identification message informing you that an encryption key for this remote machine is being created. Click Yes to accept this key and continue.

-
You will then be prompted for your UH username and password. Fill in the correct information and click OK. You are now connected to your UHUNIX account.

Uninstalling PuTTY
The PuTTY software can be uninstalled using the Programs control panel through the following steps:
-
In the Start menu, search for the setting Add or remove programs.

-
In the Search bar look for PuTTY.

-
Click on the PuTTY release version and click Uninstall.

-
Click Uninstall in the pop up box to confirm.

-
The last step will ask if you want to let the PuTTY installer make changes to your computer to complete the uninstallation, press yes and the uninstaller will remove PuTTY.
